
🥖 Frozen Pan de Agua
Traditional Puerto Rican Water Bread
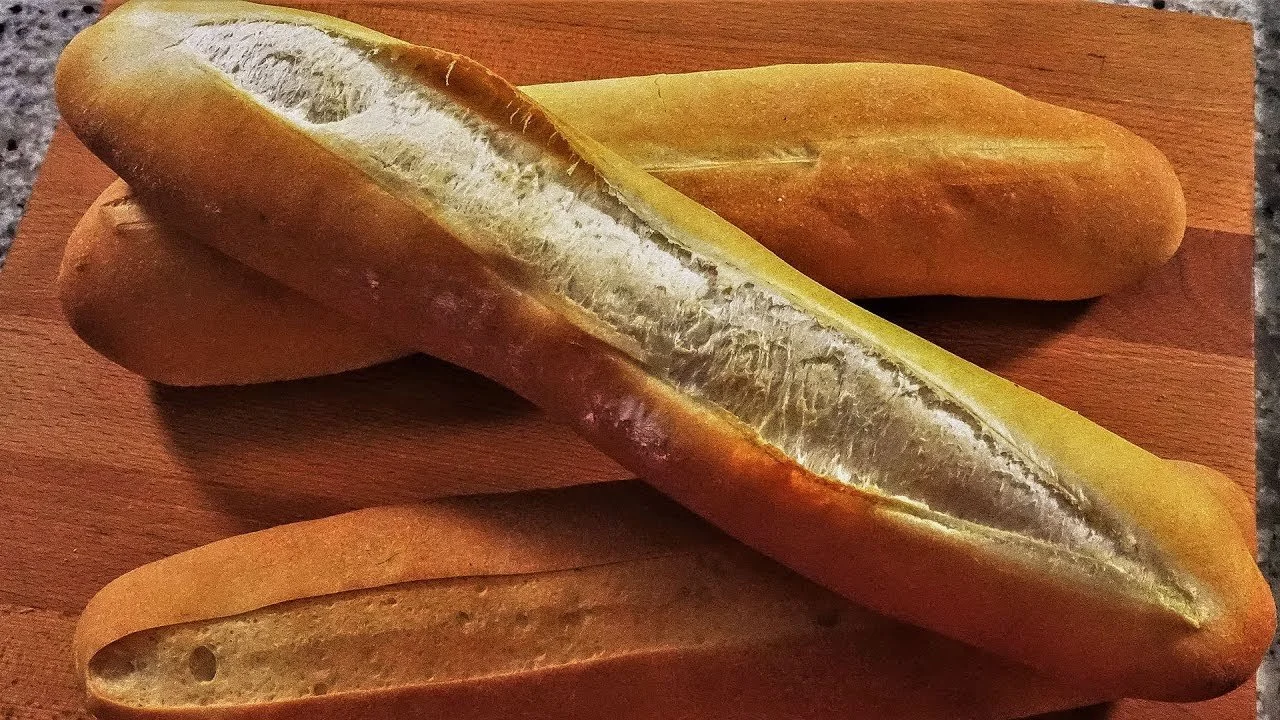
A lean artisan dough that bakes into a light, airy loaf with a crisp golden crust and authentic Puerto Rican flavor
Product Specifications
Specification Value
────────────────────────────────────────
Product Frozen Unbaked Pan de Agua
Net Weight 520 g (18.3 oz) per loaf
Length Approximately 26 in (66 cm)
Storage Keep Frozen at 0°F (-18°C) or below
Shelf Life Up to 3 months (stored frozen)
Proofing 95°F (35°C), 75–85% Relative Humidity
Bake Temperature 350°F (177°C)
Bake Time 16-18 minutes
🔥 Baking Instructions
Follow these instructions carefully for the best crust, oven spring, and authentic Puerto Rican flavor.
Step 1 — Remove from Freezer
📦 Remove the desired number of loaves from the freezer.
Place each frozen loaf on a parchment-lined baking tray, leaving approximately 3 inches (8 cm) between loaves.
────────────────────────────
Step 2 — Proof
🌡️ Proofing Conditions
Temperature: 95°F (35°C)
Relative Humidity: 75–85%
(If your proofer has no humidity control, place a pan of hot water inside.)
Typical Time: 90–120 minutes
Allow the dough to proof until it has nearly doubled in size.
The dough should feel light and airy, and it should spring back slowly when gently touched.
────────────────────────────
Step 3 — Score
🔪 Using a sharp bread lame or razor blade, make one lengthwise score approximately ¼ inch (6 mm) deep along the top center of the loaf.
Score immediately before placing the bread into the oven.
────────────────────────────
Step 4 — Bake
🔥 Bake in a preheated oven.
Temperature: 350°F (177°C)
Time: 16–18 minutes
Bake until the crust develops a rich golden-brown color.
The finished loaf should reach an internal temperature of 200–205°F (93–96°C).
💡 Tip: For the crispiest crust, avoid opening the oven during the first 10 minutes of baking.
────────────────────────────
Step 5 — Cool
❄️ Transfer the bread to a cooling rack immediately after baking.
Allow to cool for 15–20 minutes before slicing or serving.
Proper cooling helps the crumb finish setting and preserves the crisp crust.
────────────────────────────
⏱ Estimated Total Time
Stage Time
Proof 90–120 minutes
Bake 16–18 minutes
Cool 15–20 minutes
Total Approximately 2 to 2½ hours
────────────────────────────
✅ Signs the Dough Is Ready to Bake
The loaf has nearly doubled in size.
The surface looks smooth and slightly puffy.
A gentle fingertip press leaves an indentation that slowly springs back.
The score opens nicely during baking, producing excellent oven spring and a crisp crust.
Important Notes
⚠️ Food Safety
This product contains raw frozen dough and must be fully baked before consumption. Do not consume undercooked dough.
Store frozen at 0°F (-18°C) or below until ready to proof.
Do not refreeze dough that has completely thawed.
💧 Humidity Tip (for proofers without humidity)
If your proofer has no humidity control, place a pan of hot water inside.
🌡️ Internal Temperature
The finished loaf should reach an internal temperature of 200–205°F (93–96°C).
❄️ Frozen Storage
Keep the product frozen at 0°F (-18°C) or below until ready to use.
Store loaves in their original sealed packaging or a tightly sealed freezer bag to prevent freezer burn.
Do not thaw the dough before proofing.
For best quality, use within 3 months of the production date.
Once removed from the freezer, proceed directly to the proofing process.
Do not refreeze dough that has completely thawed.
📦 Handling
Handle frozen loaves gently to maintain their shape.
Avoid stacking unprotected loaves on top of each other.
Keep approximately 3 inches (8 cm) between loaves during proofing to allow for proper expansion.
🍞Freshly Baked Bread Storage
Allow bread to cool 15–20 minutes on a cooling rack before packaging.
Store at room temperature in a paper bread bag or bread box.
Best enjoyed within 24 hours.
Bread may be frozen after baking for up to 30 days in an airtight freezer bag.
⭐ Best Results
For authentic Puerto Rican bakery quality:
Bake immediately after proofing.
Do not over-proof.
Bake in a fully preheated oven.
Cool on a wire rack before slicing.
❓ Troubleshooting
Bread did not rise enough
Possible causes:
Proofer too cold
Insufficient proof time
Dough partially thawed before proofing
Solution:
Allow the dough to proof until nearly doubled.
────────────────────────────
Crust is pale
Possible causes:
Oven too cool
Underbaked
Solution:
Bake until deep golden brown.
────────────────────────────
Bread split on the side
Possible causes:
Insufficient scoring
Under-proofed dough
Solution:
Make one lengthwise score approximately ¼ inch deep.
────────────────────────────
Dense crumb
Possible causes:
Under-proofing
Oven not fully preheated
Solution:
Proof until light and puffy before baking.
────────────────────────────
📞 Need Assistance?
📞 Questions?
Panaderías Boricua Frozen Products
📧 sales@panaderiasboricua.com
📞 (203) XXX-XXXX
🌐 panaderiasboricua.com
⬆️ Back to Product Index